> ## Documentation Index
> Fetch the complete documentation index at: https://docs.phantom.com/llms.txt
> Use this file to discover all available pages before exploring further.
# Create an app
> Create your first app in Phantom Portal to get started with integration
After creating your Phantom Portal account, the next step is to create an app. This establishes your app's presence in the portal and allows you to configure settings, verify your domain, and integrate with Phantom.
## Create an app
When you first sign in to Phantom Portal, you'll see an option to create a new app.
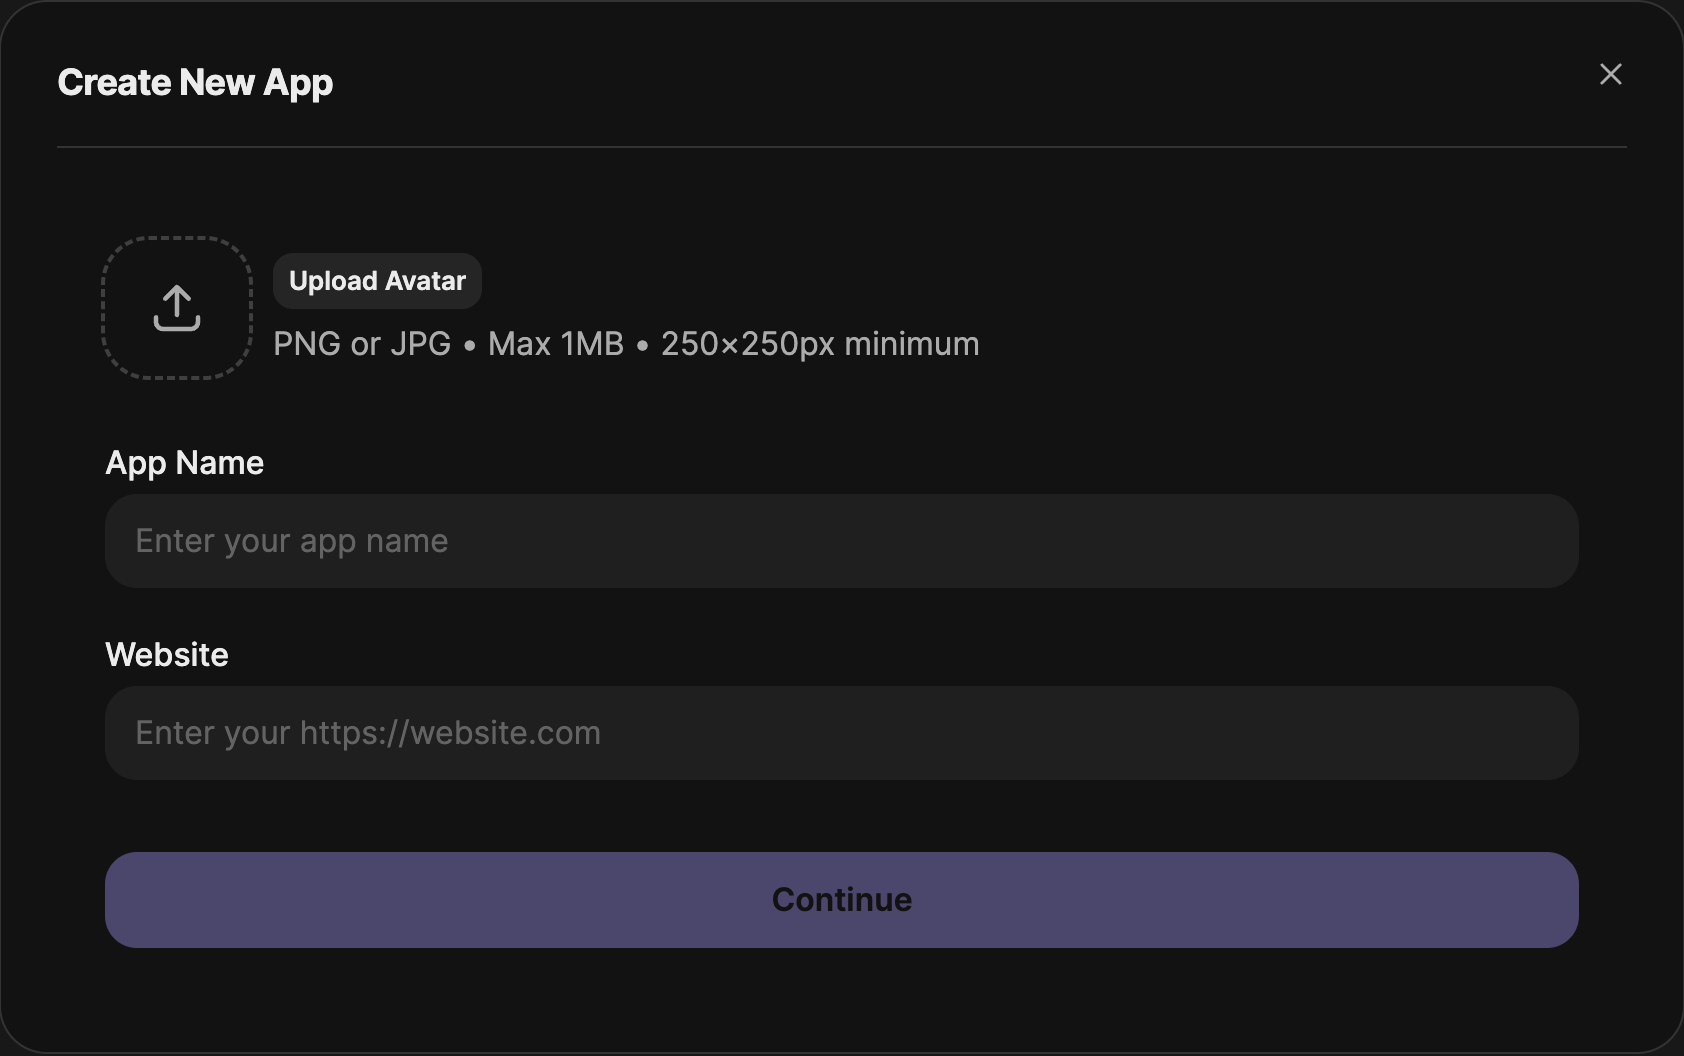
1. Click **Create New App** or **Add App** on your dashboard.
2. Fill in the required fields:
* **Upload Avatar**: Upload your app icon (PNG or JPG, max 1MB, 250×250px minimum)
* **App Name**: Enter your app's official name
* **Website**: Enter your app's public URL (must use HTTPS, e.g., `https://yourapp.com`)
3. Click **Continue**.
 Your app is now created and you can proceed with the setup process.
You'll be taken to your app's dashboard where you can:
* Verify your domain (required for SDK usage and app display)
* Configure allowed origins for your app
* Add additional app information and branding
* Get your App ID for SDK integration
## Next steps
Previous: Sign up for a Phantom Portal account to manage your app
Next: Verify your domain for SDK usage and app display
Your app is now created and you can proceed with the setup process.
You'll be taken to your app's dashboard where you can:
* Verify your domain (required for SDK usage and app display)
* Configure allowed origins for your app
* Add additional app information and branding
* Get your App ID for SDK integration
## Next steps
Previous: Sign up for a Phantom Portal account to manage your app
Next: Verify your domain for SDK usage and app display